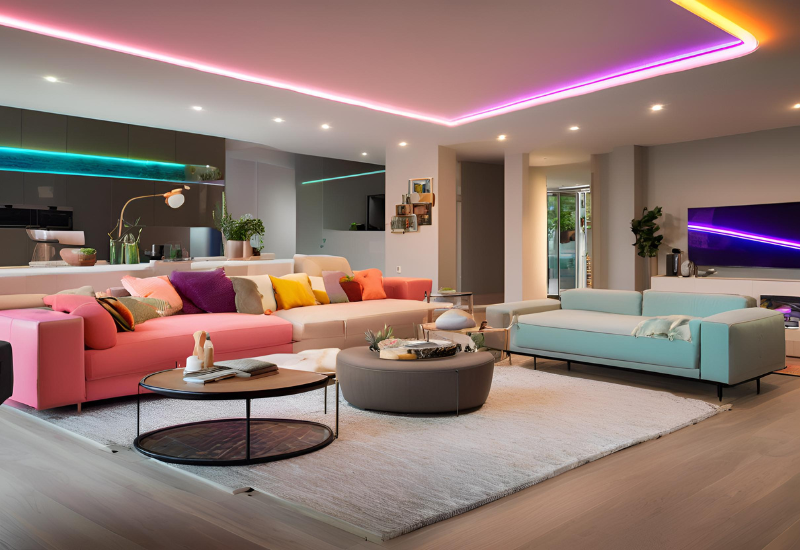
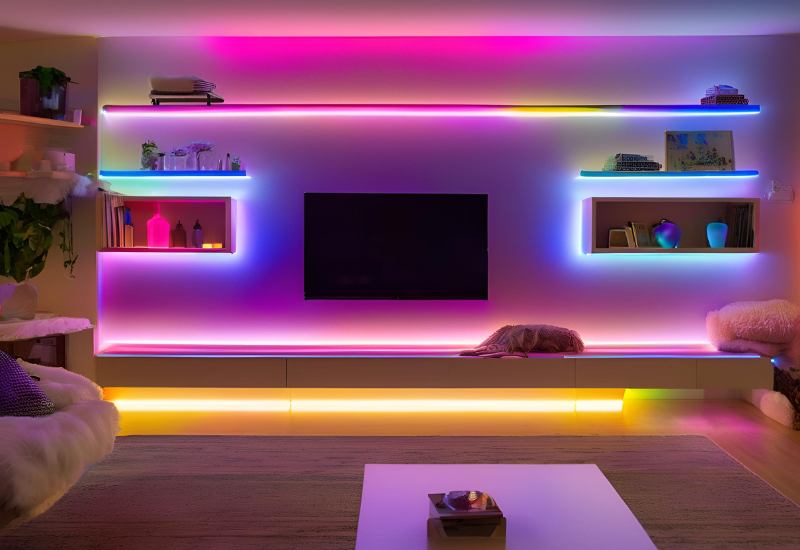
Smart lighting has become a popular way to enhance modern homes, combining both aesthetic appeal and functionality. One of the easiest and most affordable ways to achieve this is by installing smart LED strip lights. These versatile, energy-efficient lights allow you to personalize your space with custom colors, moods, and schedules—all controllable via your smartphone or voice assistant. Best of all, this project doesn’t require any technical coding knowledge or complex setups. Let’s walk through a simple guide on how to transform your living space with a DIY smart LED strip lighting system.
Why Choose Smart LED Strip Lighting?
Before diving into the “how,” it’s essential to understand why smart LED strip lighting is worth considering. These lights offer several benefits that make them ideal for DIY home projects:
- Cost-effective: LED strips are energy-efficient and long-lasting, making them a cost-saving solution for home lighting.
- Customizable: You can cut the strips to fit any space, change their colors, adjust the brightness, and even sync them with music for a dynamic ambiance.
- Easy to Control: With the help of Wi-Fi-enabled controllers, smart LED strips can be operated via apps on your phone or with voice commands through devices like Amazon Alexa or Google Assistant.
- No Complex Wiring: Most systems are plug-and-play, allowing easy setup without professional help.
Materials Needed for the Project
Before starting, gather all the necessary materials:
- LED Strip Lights: These come in various types and sizes. Look for RGB or RGBW (red, green, blue, and white) LED strips, as they allow for color variations and brightness adjustments.
- Smart LED Controller: A Wi-Fi-enabled controller is essential to making your LED lights smart. It allows you to sync your lights with a smartphone app or voice assistant.
- Power Supply: Depending on the length and type of your LED strips, you’ll need a suitable power adapter—most often a 12V or 24V power supply.
- Connectors: If you’re planning to cut and reconnect LED strips, grab some connectors designed to fit your strip type.
- Mounting Clips or Adhesive Tape: LED strips usually come with adhesive backing, but if you’re installing on a rough surface, you might need additional mounting brackets or clips.
Step 1: Plan Your Layout
Before installing, you need to decide where you want to place your LED strips. Think about areas where you can maximize their visual impact. Popular locations include:
- Behind the TV: Create a soft glow that reduces eye strain while watching in the dark.
- Under Cabinets: Highlight your kitchen countertops and make it easier to work in low-light conditions.
- Along Shelves: Show off your books, plants, or decorative items with a beautiful backlight.
- In Hallways or Staircases: Provide subtle, motion-activated lighting for safety and aesthetics.
Measure each area to ensure you buy the right length of LED strips. Most LED strips can be cut at specific points to fit perfectly in your desired location.

Step 2: Cut and Test Your LED Strips
After measuring the lengths, it’s time to cut your strips to fit the layout:
- Cut at the Marked Points: LED strips have designated cutting points, usually marked with a line or scissor icon. Be sure to cut only at these spots to avoid damaging the electrical circuit.
- Test Before Installing: Connect the LED strips to the smart controller and power supply to ensure they work properly. This step will help avoid unnecessary disassembly later if something isn’t functioning correctly.
Step 3: Install the LED Strips
Now that your LED strips are cut and tested, you can begin installation:
- Clean the Surface: Wipe down the surfaces where you plan to install the LED strips. Dirt or dust can prevent the adhesive from sticking correctly.
- Peel and Stick: Peel off the adhesive backing and carefully press the strips into place. For longer runs or areas with sharp turns, consider using mounting clips to keep the strip secure.
- Connect the Strips: If you cut your LED strips, use the connectors to join them back together. Ensure that the polarity of the connections matches to prevent any malfunction.
- Position the Power Supply: Place the power supply near an accessible outlet and ensure it can reach all of the LED strips. Hide the cords neatly for a clean look.
Step 4: Set Up the Smart LED Controller
Once your LED strips are installed, it’s time to connect them to your smart controller. Here’s how:
- Install the Controller: Plug the LED strips into the smart controller, following the instructions provided by the manufacturer.
- Connect to Wi-Fi: Using the controller’s companion app (often available for free on both Android and iOS), connect the device to your home’s Wi-Fi network. This will enable you to control the lights from your smartphone.
- App Setup: The app will guide you through syncing your controller to your phone. Once connected, you can name your LED strip setup (e.g., “Living Room Lights” or “Kitchen Under Cabinet”).
Step 5: Customize Your Lighting
With the lights installed and connected to your smartphone, you can now enjoy endless customization options:
- Color Control: Choose from millions of color options or set the lights to cycle through different shades. You can also adjust the brightness to fit the mood.
- Create Lighting Scenes: Many smart lighting apps let you create specific scenes. For example, you can have a “Movie Night” setting with dim, warm colors or a “Party Mode” with dynamic, changing lights.
- Set Schedules: Program your lights to turn on or off at specific times, perfect for energy savings or creating a wake-up routine.
- Sync with Music: Some smart LED systems allow you to sync the lights to the beat of your music, making them an excellent addition to parties or casual hangouts.
- Voice Commands: If you’re using a smart controller compatible with Alexa or Google Assistant, you can use voice commands to adjust brightness, color, or turn the lights on and off.
Step 6: Advanced Features and Maintenance
Once you’re comfortable with basic customization, you can explore more advanced features:
- Integration with Other Smart Devices: You can integrate your smart lighting with other devices, such as motion sensors, to have your lights automatically turn on when someone enters a room.
- Geofencing: Some apps allow geofencing, which means your lights can turn on when you arrive home and turn off when you leave, without you lifting a finger.
- Regular Maintenance: Keep the LED strips clean by gently wiping them with a dry cloth. If a strip fails or a connection comes loose, recheck the connectors or replace the faulty section.
Safety Considerations
- Avoid Overloading: Ensure that your power supply can handle the total wattage of your LED strips. Overloading could cause overheating, which is a fire risk.
- Use Proper Ventilation: LED strips do not get excessively hot, but placing them in confined spaces without ventilation could lead to unnecessary wear.
By following these steps, you can transform your space with a DIY smart LED strip lighting system that’s not only cost-effective but also customizable to your specific needs. With no coding or complicated setups required, this project is accessible for beginners while offering plenty of advanced features for tech enthusiasts to explore. Enjoy your new smart lighting setup! For more DIY tips and tricks, visit MechanicalBuzz.com


